An Ethernet port basically works on plugging in cables and ensuring a wired connection. In the modern-day, not only do systems but also homes have Ethernet Network Systems.
Due to being under excessive usage, they sometimes tend to loosen or else burn out. But before having to replace it, you need to test the Ethernet port in all ways possible so as to save time and fix the poor connection.
Table of Contents
How to test Ethernet Ports
| Use a Network Cable Tester |
| Use a Wire Tracer Kit |
| Use your laptop |
| Replace the Ethernet Cable |
Network Cable Tester
There are times when even if you have the cable plugged in well, there is still a problem. Ethernet cables thus need to be tested so that you know beforehand that everything is in the right order. In order for this to be done, a Network Cable Tester will be used that will save you the trouble.

Its main body is battery-powered and it can be switched through the button shown above. It also tags along with the B, C, and rj45 connections. As for the remote, it has the BNC and rj45 Ethernet connections but lacks the presence of a battery.
Hence the only way it can get powered is if it’s connected to the main body. This is exactly how we’ll be testing the Ethernet cables to see if power is being transmitted through or not. Follow the steps:
- Plug one end of the cable into the main body and the other into the remote piece
- Switch on the Cable Tester
The lights that tend to show up, represent each of the eight conductors of the Ethernet connector. What you would want to see are all the lights lighting up green at the same time. That is so if one light shows up on the main body, the same should show on the remote piece.
What Next:
- If the second pin does not light up, this would indicate that there is some sort of a shortcoming with the second conductor. This means that the Ethernet cable will not work.
- If all the lights are turning green but not together as mentioned above, this means that both sides of the cable are not the same. The 4th and the 6th pins must be swapped.
If any or both of the above happens, all you need to do is take a crimping tool.

Insert your cord amidst the hole between the black region and squeeze through. The connector will come off, leaving behind your cable as good as new. Now you can put on a new connector and try again.
Wire Tracer Kit
At times it is that the wires out there are not connected to Ethernet ports and are just left to be. The problem is to test Ethernet ports that they may specifically be suitable to go. When not being able to differentiate as to which cable is which, a Wire Tracer Kit can be used.

Although slightly expensive, yet there are a few cheaper ones available out there as well. The Extech TG20 Wire Tracer and Tone Generator is an example.
It tags along 9-volt batteries in each of its components. Quite simple to use, one end of the cable will be plugged into one of the units. As for the other unit, we shall see where the suspicious cable is supposed to be.
On the Wire Tracer Transmitter, there are three options namely Tone, Continuity, and Off. When using the Tone Mode, you will only have to use the Red crocodile clip.
As for the Continuity Mode, it will have to be the black crocodile clip into effect as well. But overall, the Tone Mode is the most effective one in moving to test Ethernet ports.
Procedure
Follow the steps below:
- Clip in your wire in to the red crocodile clip
- Switch on the Wire Tracer Probe
The intensity of the sound produced when in the proximity of the wire can be reduced. The closer you take the Tracer to the wire, the greater will be the intensity of the sound. This is because of the transmission of current. Cables that produce the vibration throughout and not only on the open ends are more likely to be working than the rest.
This Ethernet Port test will help you in identifying which cable is faulty and from what end, instead of having to look along the whole length of the wire.
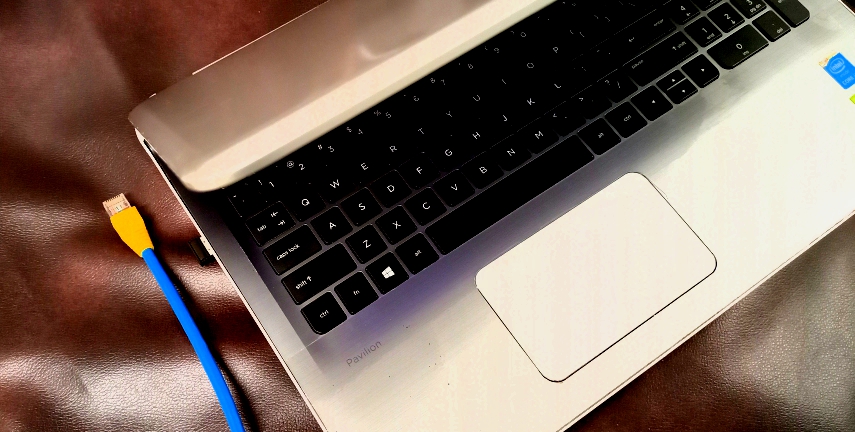
Use your laptop
Signals from the Internet can be detected using your laptop, as a test for the Ethernet port. Follow the following steps:
- With the help of an Ethernet cable, plug in your laptop to the wall jack
- Open up the Control Panel
- Go to Networks
- Go to Wi-Fi
An IP address will be displayed for the Wi-Fi in case the jack is working and there is a successful transmission of information. In case the jack is not working, a self-assigned IP address will appear in front and the desktop will show up a reminder saying that Network connection not found.
Replace the Ethernet Cable or Ethernet Wire
This is another way to test the Ethernet port by replacing the Ethernet cables and seeing if the issue persists with the cable or else the port itself.
In case the internet connection manages to drop, it is an indication that you need to have the jack replaced.
There are a number of issues that may be present with the Ethernet connection. Before moving to troubleshoot, you can study the ones discussed here to quickly spot the issue and its appropriate fix. These include continuity issues, performance issues, and connectivity issues.
If you think that your abrupt network connection is because of any of the aforementioned, you need to carry on a series of tests to assure yourself.
Issues with Continuity
These can be as a result of any sorts of physical damage to the cables or else interference in the transmission where the electromagnetic radiation is abrupt.
A scan can be done to detect the fault if any or else have it checked through a continuity tester. This will help to identify the issue. In case the problem is with the imbalance of frequencies, the tester will be successful in identifying it.
Issues in Performance
This is when your connection tends to bring up issues. Damaged cables are one of the major causes, which then leads to failure in the transmission of your network connection or else other data. You may try straightening up the bent cable and then check if the issue is resolved or not.
If not so, a second scan can be done to look up for any dents or scars midway.
Try shaking the cable a little towards the sides and see if the issue is resolved. If none of the above tests works, you will surely have to get the Ethernet cable replaced.
Issues with Connectivity
A fault in the cable is yet again the reason behind this issue. This can be tested in two ways possible.
As for the fact that a network connection is always brought forward through the adapter’s LED and so connecting the cable into it, the LED should end up flashing. This would mean that the connection is successful.
If not, then there is most probably an issue with either the LAN cable or the adapter. It may even be both.
Another test for the Ethernet port that can be done is plugging the cable into the connector of any other device.
Depending upon the results, you will be able to deduce that whether the issue exists with your cable or else the connector.